Sunday, January 31, 2010

Canon EOS 50D.

After almost 3 months camera-less, I finally decided to buy a new camera. So went out to the Low Yat Plaza to find the cheapest offer available. The one that I found out is Original set, and cost me a bomb. Earlier, I was planning to stay with Nikon coz I am more familiar with it rather than Canon. Plus Nikon's body is much more nicer compare to Canon.

After asking for some opinion from Mr. Lijet and Helmi (Actually I ask the wrong person, both of em coz they are Canon fan), I finally took the chance to try Canon. The model that I bought was Canon EOS 50D. So what's with the camera?

I guess it is one of the 'prosumer' model from Canon. In the middle of Mid Range and High Range level. The package that I took come with 18mm-135mm lens with Image Stabilizer. The price? Well, the budget that I allocate for the camera was RM 4000. But since I am going to use it for awhile, why don't I take a better one?

Early plan was to take either a Nikon D90 or D5000, or go with Canon EOS 500D. The price range is around RM3000+, so I can use the balance to buy an external flash and tele-lens. But the the camera model is from Mid Range. It was like having a Wira but with Evo III engine.

Since Helmi, Lijet and the promoter were busy poisoning me to go to Canon 'way of life', they told me 500D was good enough if it is just for hobby. Well, me being me, never satisfied with the selection available, I decided to step up the budget to RM 5000. The 50D with 18-55mm lens will cost me around RM4000+. But 55mm lens? Just like my previous D40 only. Huhu. If I am going to take the tele lens (55mm-250mm) it will cost me another RM1200. Haha, out of my budget already. No flash some more.

So they advise me to take the RM4700+ package that come with 18mm-135mm lens. And they were telling me that Canon can take picture nicely under low light condition. From my experience, higher ISO will create more noise, but they were convincing me that the 50D can do that without much noise, which I doubt it.

After a while thinking, I took it along with lens filter, and also lens hood. No battery grip, portrait lens, and no external flash this time. No budget yet. Huargh. So, I went back home to try it.

The results? A.M.A.Z.I.N.G! These shots were taken with ISO 3200 and under low light condition, hand-held with quite slow shutter and no flash. Simply amazing!

The camera box itself.


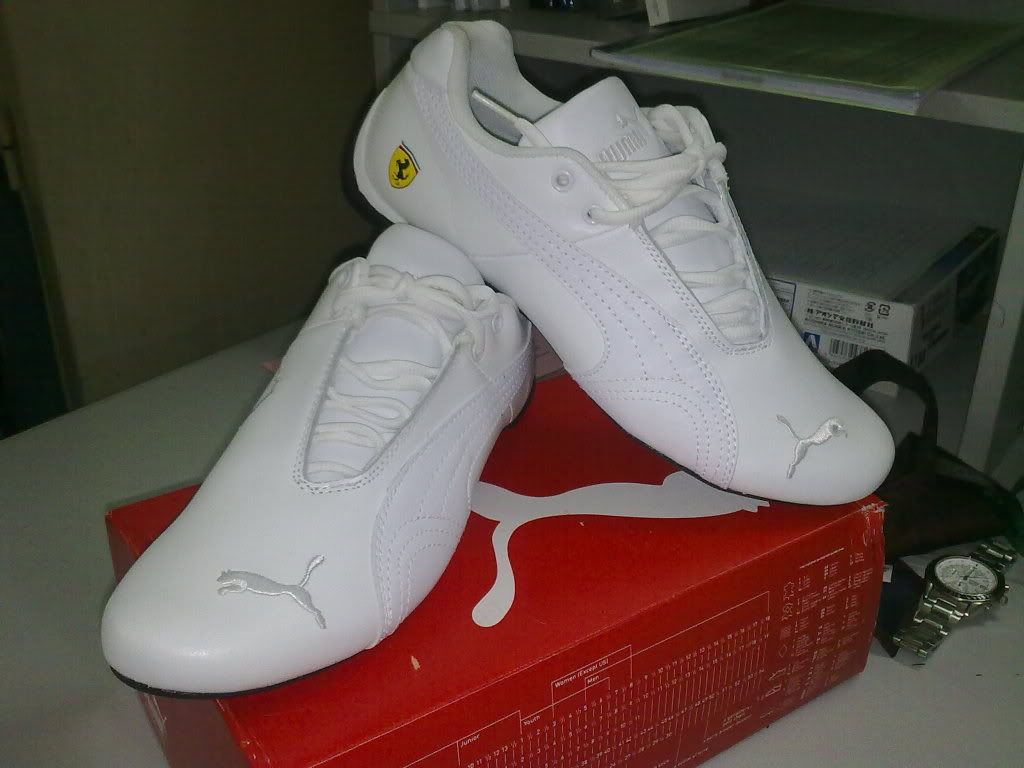
With the camera, I got these freebies. A limited batch of EOS 50D User's Guide (Very good info inside, I am still reading it), a camera cleaner kit, a tripod, and also a sweater and a shoe bag from Puma. The freebies also will cost me another Rm400+ if I am going to buy it separately.


Some portrait style photos.

My 4th brother.My GrandMa. She's from China. Was sold to local family when she was small.

And my mom. She's holding the 'Millionaire Earner' trophy awarded by the company for the accomplishment. Guess how much she's earning this month? RM130k yo~ Me? Well, a bit drop, only RM5k.

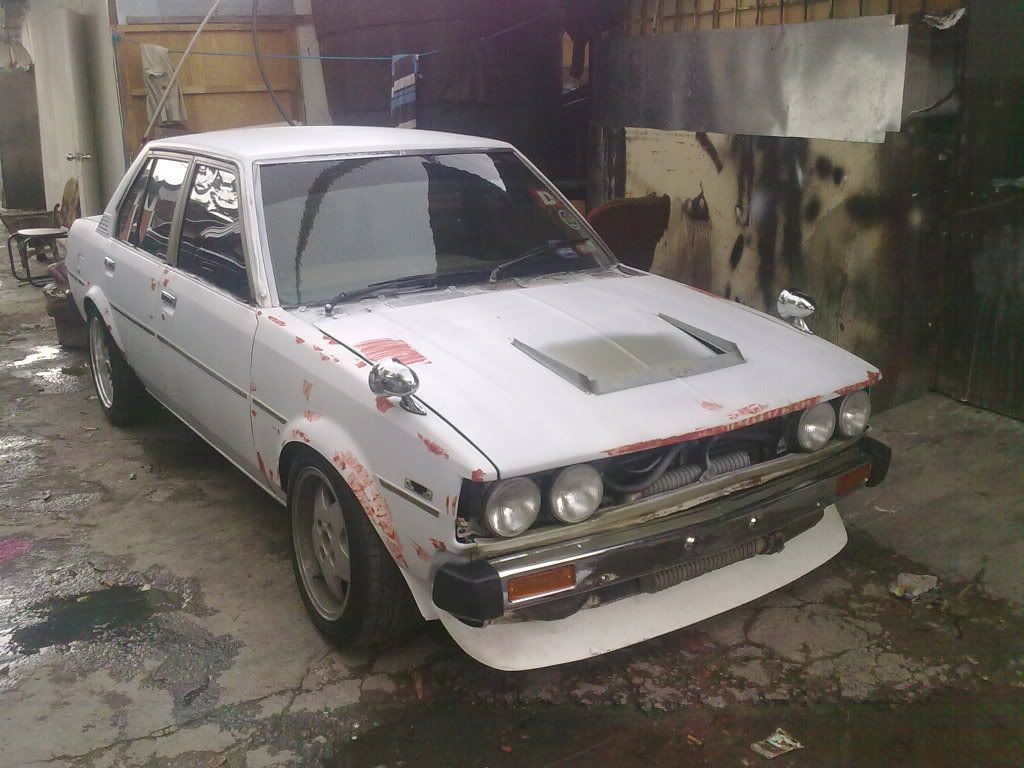
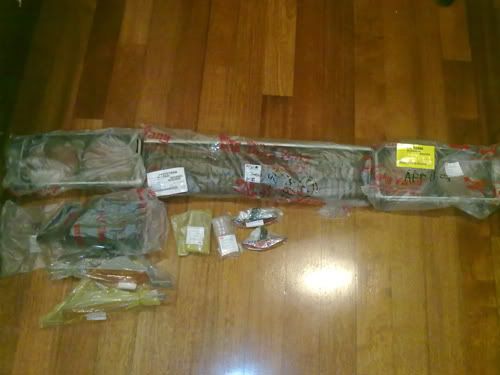
Another crazy stuff of the day was Jimmy the painter calling me at 3am. I was at Alamanda that night, watching Avatar (The movie is good, seriously and 3 hours movie) and finished at 2.30am. Then Jimmy called me and ask me to send all the new stuffs coz the car is done. Excited, I went to the workshop after the movie finished. And helping him assembling few stuffs.

Cant wait for the final look tomorrow.


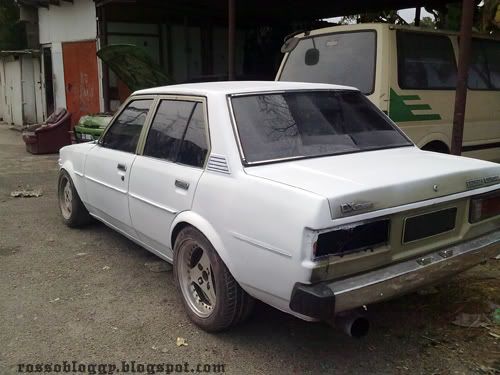
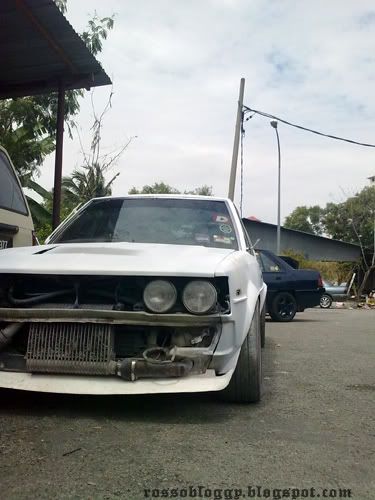
Jimmy also sprayed the intercooler to black. More stealth and looks like it blend in with white color. Very very 'clean' looking and the vented hood looks nice.


3.30am. Very quiet and a lot of mosquito too.


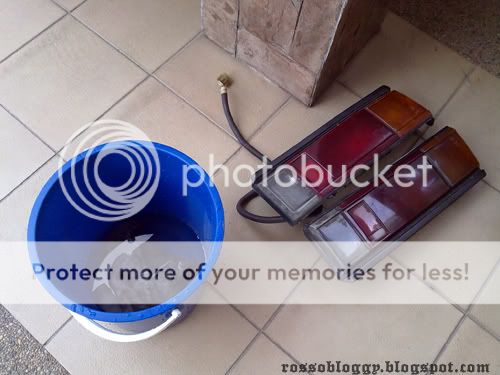
Unfortunately one of the new tail lamp was chipped. Dunno when it happened, coz the chipped part is not in the box. I suspect it is manufacturing defect. Told the supplier bout it and he is glad to replace it. +1 for the honest seller.

Saturday, January 30, 2010

Into the Booth..

Finally. Yay. Almost finish product.

The not-so-working vented hood. Custom made according to my taste.

See ya on Monday!

Friday, January 29, 2010

DIY : Polishing My Old Lenses.

Here's another DIY stuff for the day. Told ya I was too bored.

Subject : KE70 DX stuffs. Yes, I have a new set of these stuff. But where is the fun part of having an oldschool machine if I didn't try to restore it?


Dirty lenses ready to be polished.


The first step is cleaning up the lenses to remove dust.


My Super Duper Polishing Machine (SDPM) created with a drill machine strapped with old towels.


Put some headlamp polish on the lenses. Spread it evenly and wait for it to dry. Then buff em up with the SDPM. See da difference? The top one is not polished yet.


Before and after. Polish it 2-3 times depending on your mood. The more you do it, the more shine you will get.


One of the secret is to buff the lenses till it become hot at the surface. But not too hot till it melt the lenses. Spread with the SDPM evenly and do not stay at a place for too long.


Walla~ Done.

DIY : Florescent Rims.

Too bored today, so decided to get myself busy. OK, so here's the process.

Subject : Dull 15' Fondmetal wheels.


The first step is to clean up the wheels. Use a detergent to make sure there is no dirt or oil left.


Sand it like there's no tomorrow. Just a light pressure is enough to wash away the top layer of the paint.


After that, dried it up and it is ready to be painted.


The spray cans consist of Flat White, Florescent Orange and the other that I forgot to buy is Clear Coat. The reason I choose Flat White as a primer is because flat color usually has rough surface, and white color will reflex the florescent color quite well and it is much easier to detect the unevenness when you are spraying the orange color.


Flat White as a primer. 4-5 layers should be enough. As for me, 1 can is for 2 wheels, so I just sprayed it layer by layer till the can is empty. Put more layer at the lip and the bolt area coz that is the usual place that will be scratched. The reason I didn't tape up the tires are because that is a set of bald tires that will be changed soon. Save up some of my time too.


Check for bubbles or unevenness at each layer. Sand it lightly to remove it.


The hard part is the first layer of Orange. Check out the unevenness. Well, the solution for this problem is just to wait for it to dry. Then touch up the area that is still in white color till every part of the rims have the same color. The color is too bright till my camera cant really focus on it.


Spray, spray and keep spraying.


And the results? Oh, don't forget to spray a few layer of clear coat so that the rims will be shining and less brake dust will stick.


Since my car will be white, it should turn up like this.

Friday, January 22, 2010

Exam Week..

Still did not have time to upload some more photos during the OS Trip. Will do it once I finished my exam. A bit busy this week coz I need to renew my passport and unfortunately I lost my IC somehow. So more problems to me coz I need to rush here and there. Huargh. Gonna go to Japan this coming March. Can't wait for the trip!

Anyway, a day after OS Trip. Rolla had been stripped by now. Just fit in the bonnet pin and more filler applied.


Also bought this Puma Ferrari racing shoe. Stig Wannabe mode! :)


Anyway, just a random thought; I'm thinking of joining the FXOpen Drift Challenge. Well, just a thought. Will give a decision later. Hahaha.

Gonna go continue studying, so out for now.

Monday, January 18, 2010

Olskool.Org TT 2010.

Photo credits to Pokjik of Olskool.Org. All photos were taken from here. I'll update more when I got time.

Meanwhile, lets enjoy some of the photos although most of it that I copied only have my car.
=P

9 am at the Burger King near Genting exit.


Happy face after scrapping the MRR2 in the morning.


The reason the lip was scrapping the road was becoz of the car is too low. Hahaha.


Was chasing Latiff of Rattlezasia. One of the regular drifter when it came to drift event.


More photos soon. Damage from the TT? Left front and rear arch were damaged due to tyre clearance, and the front spoiler was badly scratched. Too low I guess.

Sunday, January 17, 2010

I am Tired!

After 5 hours of hard work and a lot of sweat, the car is ready for the trip today! The front panel still a problem, need to realign it back once I returned the car. Some more, the bumper is forced fit, the grill and the head lamp too. 5 hours of pain. From 4 pm till 9pm. Working in a dark place is a bonus. Was using some lights from Getz. LOL. A lot of grinding, especially the old side mirror that had been WELDED to the body, the vented hood need some magic touch after this, and what not.

Some sneak preview while the car was super dirty :


Should I retain the body line should I remove it? Love the inter cooler now. Hiding between the bumper and the front lip. The fender mirror? Well, it is more on cosmetic rather than functioning. Only the right one is functioning.

Saturday, January 16, 2010

Screamer.


Kinda interested to get one of this. Still dunno how does it works, and what is the benefit of using it, but one thing for sure, it is LOUD. And I am in love with it.

Let me hear ya scream please!

Under the Coat.

Woke up in the morning today (Even though I don't have any class on Friday..), when Jimmy message me that the car key had broken into two pieces. So, I went to the shop and took the broken key and make a duplicate of it.


And all exterior stuff's had arrived. Finally. Thanks to Ipin for it!


I was told by Jimmy that the first layer of undercoat is to rule out or to find unevenness at the body. So, here's the first one. Hood and bonnet still not done anyway.


Kinda in love with the front fitment. Looks awesome!


Another view of the fitment. I wish I can lowered it a bit more to the ground. But definitely the front spoiler will scrapped everything on the road, so need to rethink again.


p/s - The intercooler looks fugly!

Friday, January 15, 2010

Almost There.. Part III

Few units of emblem from Jeya! Yay! Thanks buddy! Most of em' looks almost new and in good condition.


Currently, the car is using 1jz stock inter cooler, I wonder what size is suitable if I am going to buy one of these?


And finally bought a set of bonnet pin. It is a must before my hood fly away and smashed the front windscreen.


Today, Jimmy give me a chance to drove Rolla around. It had been a week or so without Rolla. So, kinda happy to drove it around and fillin her up. Undercoat paint will be sprayed tomorrow I think..

Wednesday, January 13, 2010

Almost There.. Part II

Today's updates:

I need this missing clip for my rear windscreen. Need two of em.


Vented hood coming..


Finally manage to settle the front spoiler's issue. I removed the intercooler and then alter here and there a bit, and get the final position. The only problem left is the curve area. Still hanging. Might ask Jimmy to put a bracket to hold the downforce before it break into pieces. Kekekeke.


Rear arch in the making.


On the other hand, I better find a new girlfriend quickly or else this blog will be flooded with Rolla's story only. Hahahaha. Sunday Drive by Olskool.org is around the corner (This Sunday!). Will take Rolla for a spin and as a proper introduction to public. Also might use the opportunity to climb Genting. We'll see.

LinkWithin

Related Posts Plugin for WordPress, Blogger...